
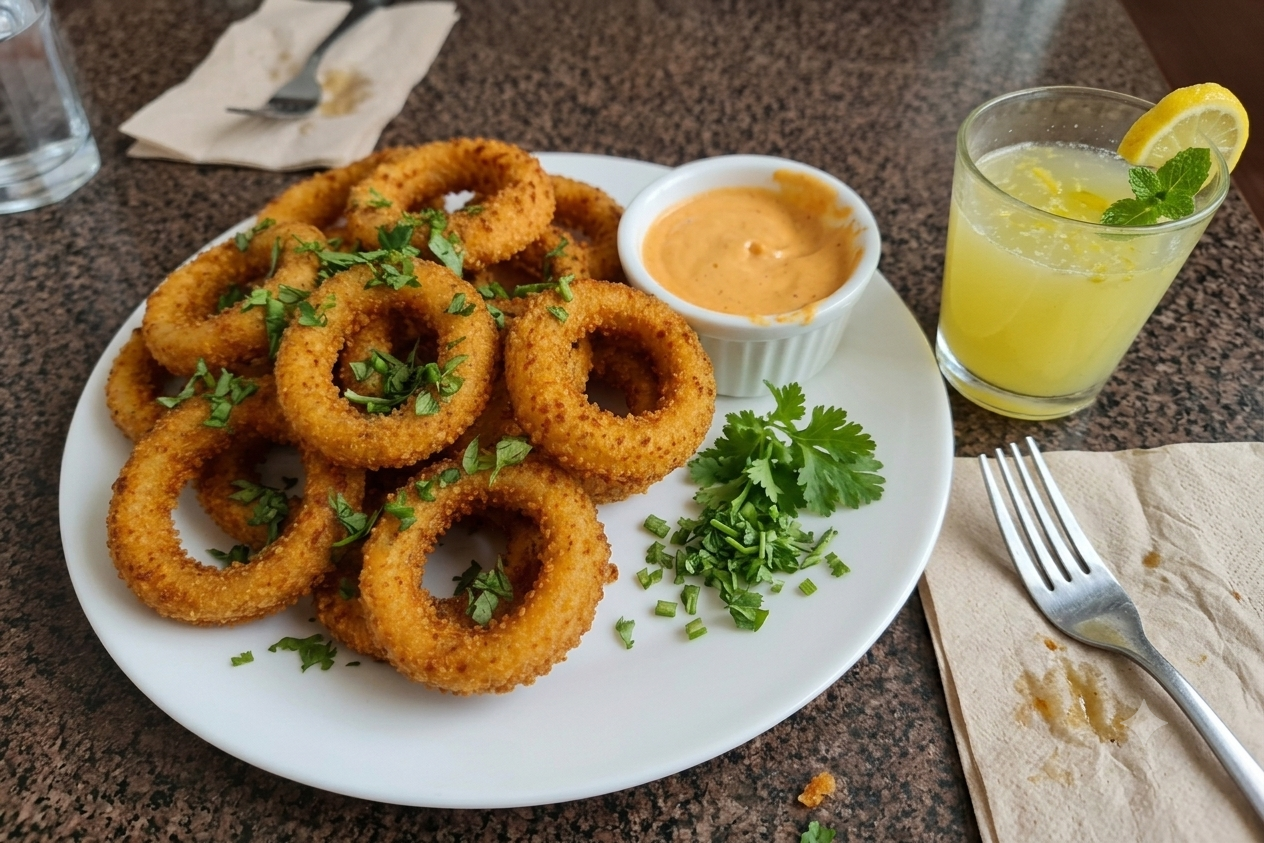
Crispy Air Fryer Onion Rings with Oat Coating in 8 Minutes

Crispy Air Fryer Onion Rings with Oat Coating — light, crunchy, gluten-free, and ready in about 8 minutes.
I’ve learned that onion rings can look perfect right up until they hit the air fryer. Then suddenly the coating slides off, the bottom turns soft, and half the crumbs end up sitting in the basket instead of on the onion. Annoying.
These Crispy Air Fryer Onion Rings with Oat Coating keep things much simpler.
There is no heavy batter here. No bowl of hot oil either. You only need a medium onion, one egg, oats, salt, and pepper. The trick is mostly in how you handle them.
The oats need to be ground finely enough to cling to the onion, but not so finely that they become flour. The rings also need room in the basket. Cram them together and the steam gets trapped.
In my three years of writing recipes, one thing I’ve learned is that simple recipes usually leave fewer places to hide mistakes. Every little detail matters.
This one takes about five minutes to prepare and roughly eight minutes to cook. The result is a soft onion center wrapped in a lightly toasted, crisp oat coating.
Simple. But surprisingly satisfying.
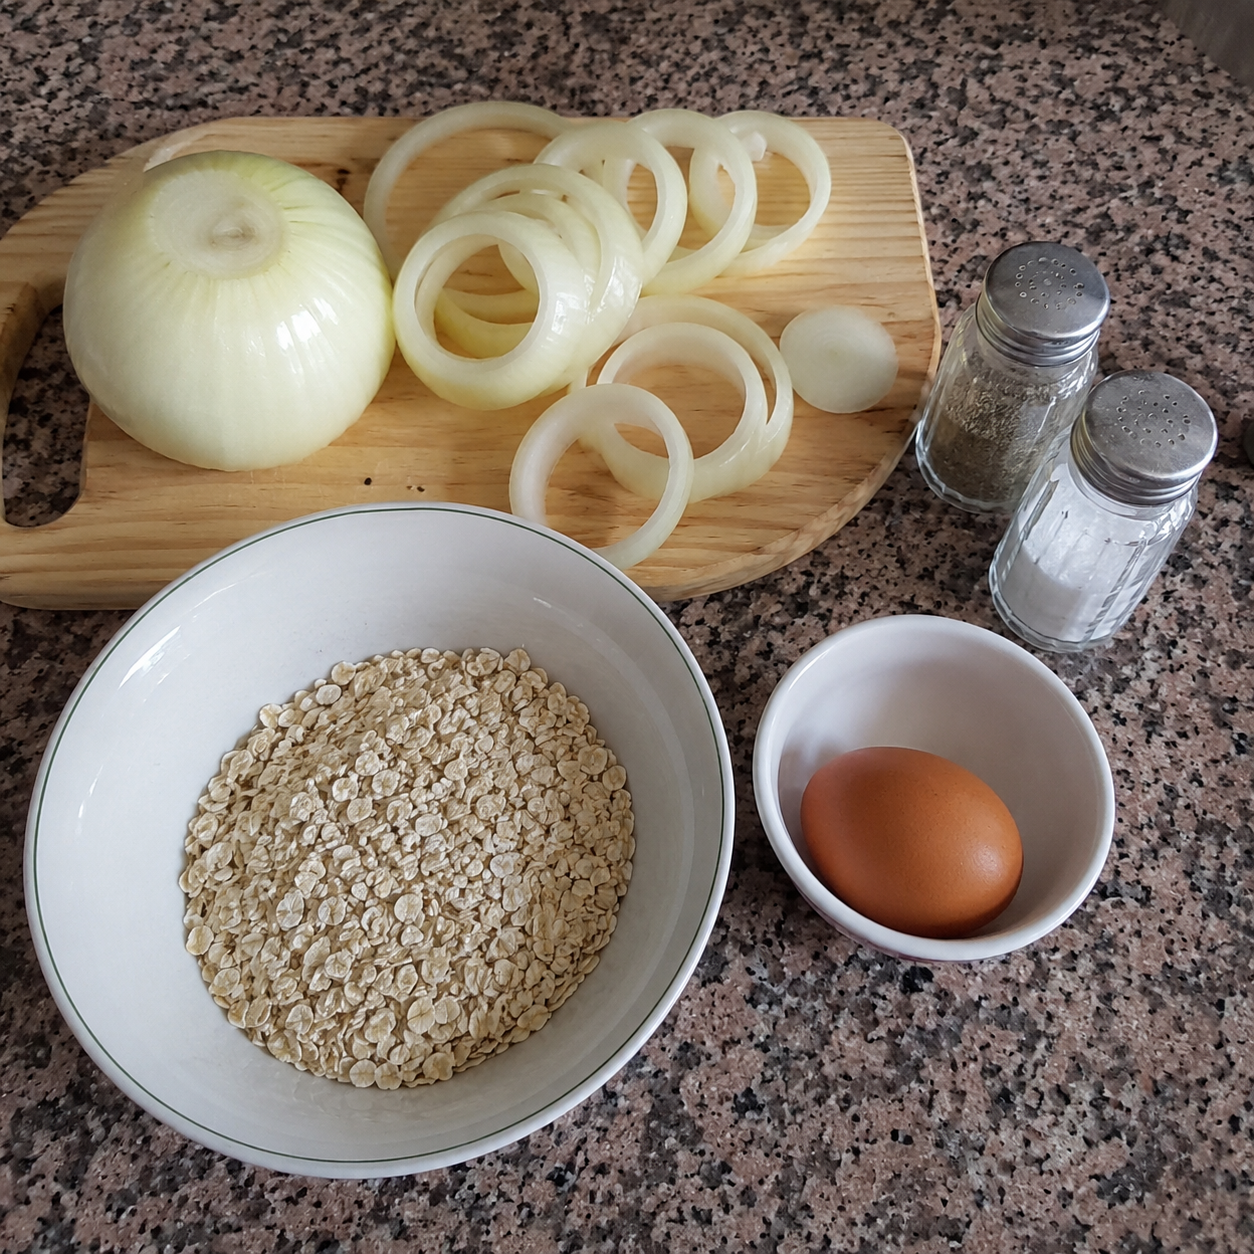
The Small Detail That Makes the Coating Stick
The coating order matters here.
You start with the onion ring in the ground oats, move it into the beaten egg, then return it to the oats again.
That first dry layer gives the egg something to grip onto.
Without it, the egg can slide around the smooth surface of the onion and take part of the final coating with it.
The second oat coating creates the outer crust.
It is not exactly like panko. And honestly, it should not be.
Ground oats produce a slightly denser coating with a mild toasted flavor once they hit the hot air. The texture feels rustic rather than fluffy.
That works nicely with sweet, softened onion.
The other key is airflow.
Air fryers crisp food by moving hot air around the surface. If two onion rings are sitting on top of each other, the areas touching each other are basically steaming.
That is where soft patches usually come from.
Ingredients
This is a very short ingredient list, so the way you prepare each ingredient matters.
- 1 cup gluten free oats
- 1 medium onion
- 1 large egg, beaten
- Salt, to taste
- Black pepper, to taste
Main Ingredients
1 cup gluten free oats
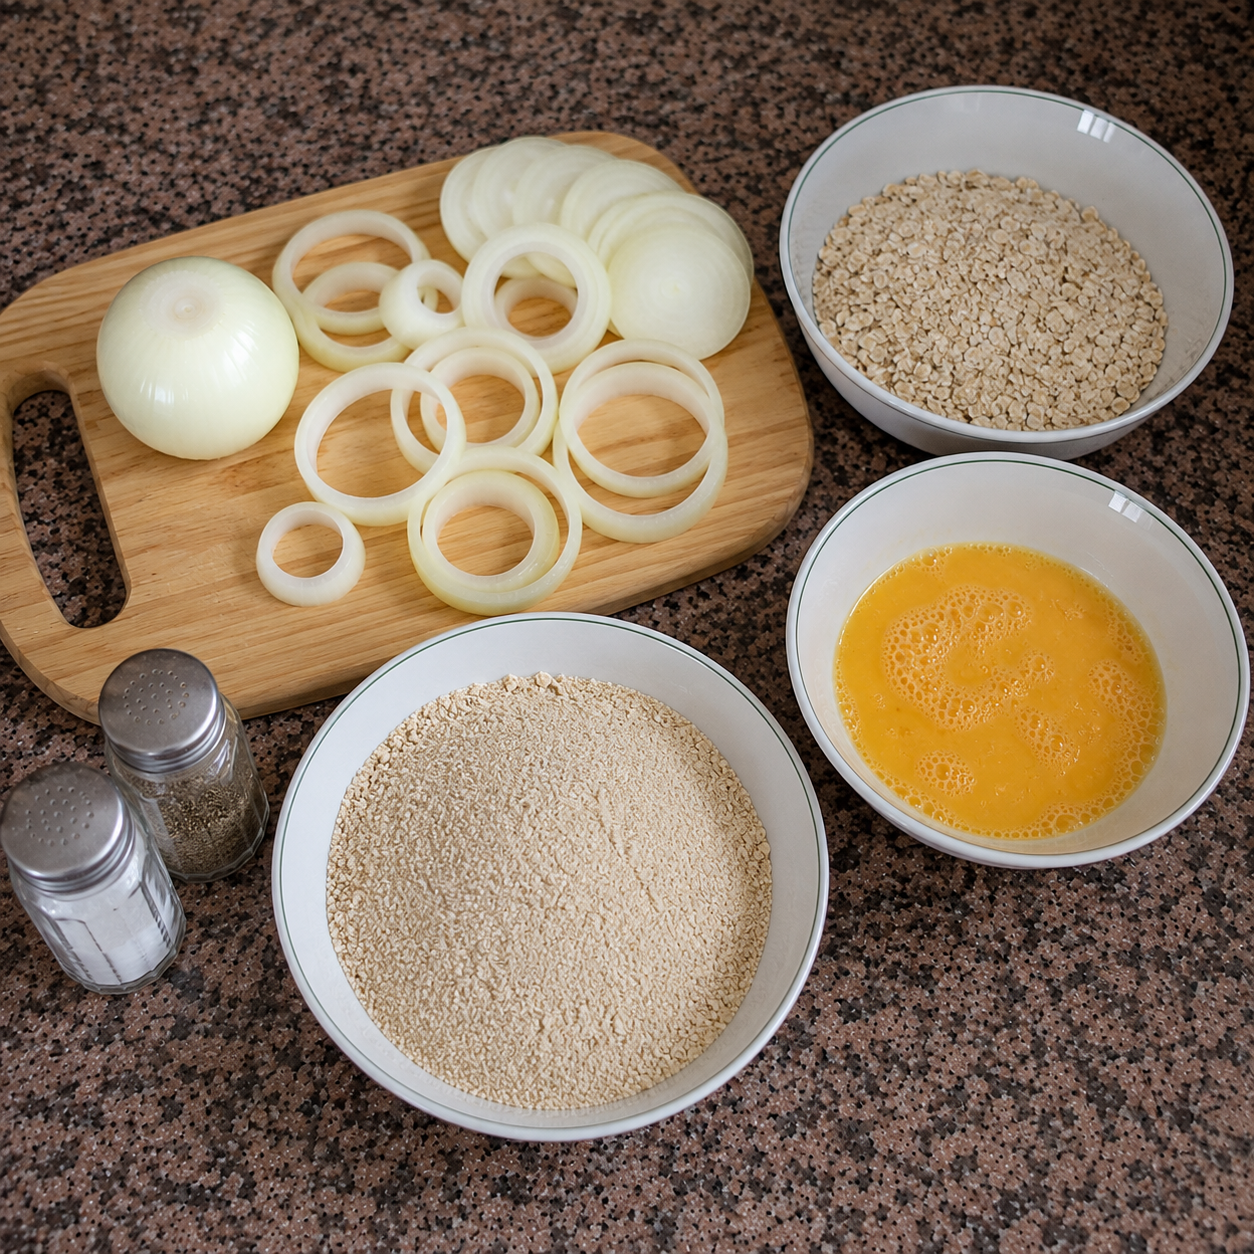
The oats are blended until they look similar to fine breadcrumbs.
Do not completely pulverize them into flour.
You want a little texture left because those tiny pieces help create the rough, crisp surface after cooking.
If you are making this recipe for someone who must avoid gluten, choose oats specifically labeled or certified gluten free.
Plain oats may be processed around wheat or other gluten containing grains.
1 medium onion
A firm onion works best.
Slice it crosswise so you get complete circular rings, then gently separate the layers.
Try to keep the slices fairly even in thickness.
Very thin slices soften quickly and can become floppy before the coating has enough time to crisp.
1 large egg, beaten
You only need to whisk the egg until the yolk and white are combined.
No need to beat air into it.
The egg is simply the binder between the onion and the oat coating.
Salt, to taste
The source recipe does not provide a specific quantity, so I would not pretend there is a magic measurement here.
Season the ground oats lightly.
You can always add a little more salt after cooking.
Black pepper, to taste
Again, keep it simple.
A little pepper gives the coating some depth without burying the onion flavor.
Can Oats Really Replace Breadcrumbs?
Yes, but the texture is different.
And that is worth knowing before you start.
Traditional breadcrumbs, especially panko, create a lighter and more jagged crust.
Ground oats give you something a little more compact.
Once toasted, though, they develop a pleasant crunch and a subtle nutty flavor.
Personally, I would not try to grind them into a perfectly smooth powder.
Pulse them instead.
Stop when they resemble small crumbs.
If the pieces are too large, they fall off.
If they become flour, the coating can feel tighter and less textured.
Somewhere in the middle is exactly where you want to be.
Substitutions and Easy Adjustments
Because this recipe only has a few ingredients, substitutions show up pretty clearly in the finished result.
Regular Oats Instead of Gluten Free Oats
Yes, you can use regular oats if gluten is not a concern.
The cooking process stays almost the same.
The main difference is dietary suitability, not technique.
Breadcrumbs Instead of Oats
You can use breadcrumbs, but then you are making a different version of the recipe.
Breadcrumbs usually create a lighter crust.
Oats produce a slightly denser, more toasted coating.
Cooking time may also shift a little because the two coatings brown differently.
Egg White Only
It can work, but the coating may feel a little leaner and less rich.
Using the whole egg gives the binder more body.
For the version closest to the original recipe, stick with the full egg.
Extra Seasonings
A pinch of garlic powder, paprika, or onion powder can work well.
Just do not go overboard.
Fine spices can darken quickly in the air fryer, especially when they sit on the outside of a dry coating.
A light hand is better.
A Little Oil
The original recipe does not call for added oil.
You can lightly mist the coated rings with a neutral oil if you want extra browning.
Very lightly.
Too much oil can soak into the oats and make the crust heavy instead of crisp.
How to Make Crispy Air Fryer Onion Rings with Oat Coating
Start with the oats.
Pour 1 cup of gluten free oats into a blender or food processor.
Pulse them in short bursts.
Stop and check the texture.
You want something that looks like fine breadcrumbs, not a completely smooth flour.
Transfer the ground oats to a bowl and season with salt and black pepper to taste.
Now crack the egg into a separate small bowl.
Beat it until the yolk and white are fully mixed.
That part is done.
Next comes the onion.
Trim the ends, peel away the papery skin, then place the onion securely on your chopping board.
Slice across the onion to make complete rounds.
Separate those rounds gently into individual rings.
Do not force them apart.
If you bend the rings too aggressively, they split.
The very small pieces from the center can be saved for another meal if they are too tiny to coat properly.
Now comes the messy bit.
Take one onion ring and place it into the ground oats.
Turn it around so a thin dry layer sticks to the surface.
Shake away anything loose.
Next, dip the ring into the beaten egg.
Coat the entire surface, including the inside edge.
Lift it out and let the excess egg drip back into the bowl for a second or two.
This part is more useful than it sounds.
If you move a dripping wet onion ring straight into the oat bowl, the crumbs start clumping together.
After several rings you end up with wet oat lumps instead of a nice dry coating.
So let the extra egg drip.
Then place the onion ring back into the ground oats.
Press the crumbs gently around the outside and inside edges.
Not hard.
You are just helping them stay attached.
Set the coated ring aside and continue until the remaining onion rings are covered.
Do I Need to Preheat the Air Fryer?
That depends on your machine.
Some air fryers heat almost immediately.
Others produce noticeably better browning if the basket is already hot.
If your air fryer normally benefits from preheating, set it to 180°C while you prepare the rings.
That way you are not really adding extra work.
If your manufacturer recommends cooking from a cold basket, follow the instructions for your specific model.
Air fryers are surprisingly different from one another.
That is why cooking time should always be treated as a guide, not a promise.
How to Arrange the Onion Rings in the Basket
One layer.
This is the part I would not compromise on.
Leave a little space between the rings so hot air can move around them.
You can fit smaller rings into open spaces, but do not place one ring directly on top of another.
Yes, it is tempting to squeeze in two more.
I know.
Those two are usually the ones that come out soft underneath.
If your air fryer basket is small, cook the rings in batches.
A second batch is better than a soggy first one.
Air Frying Time and Temperature
Cook the onion rings at 180°C for about 8 minutes.
Start checking near the end.
The oat coating should look dry rather than wet.
It should also begin to turn lightly golden and feel firm enough to hold onto the onion.
If your air fryer tends to brown more strongly from the top, you can carefully turn the rings once after the coating has started to set.
Do not flip them too early.
Fresh egg coating is fragile.
Move it too soon and part of the oat crust may stay behind on the basket.
Use small tongs and work gently.
The exact cooking time will vary depending on your air fryer, onion thickness, ring size, and how crowded the basket is.
Eight minutes is the starting point.
The food itself tells you when it is ready.
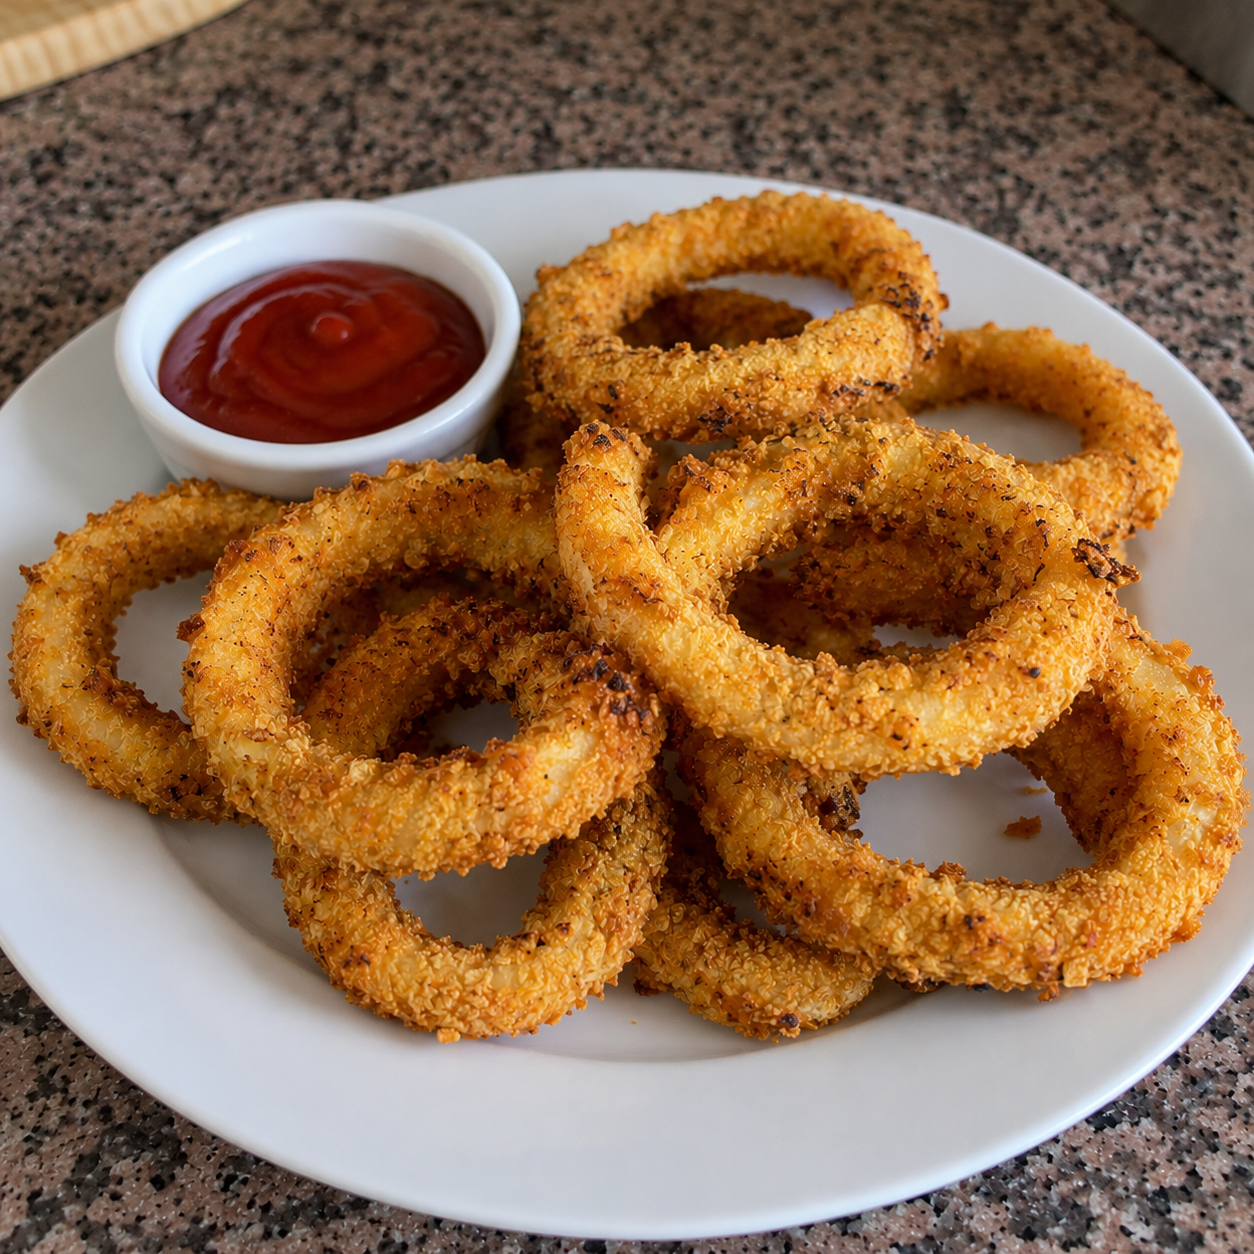
How Do You Know When the Onion Rings Are Done?
Look at the coating first.
It should appear dry, lightly golden, and firm.
You should not see glossy patches of wet egg.
The aroma changes too.
At first, raw onion smells sharper.
As it cooks, that sharp smell softens and you start getting the warmer smell of toasted oats and cooked onion.
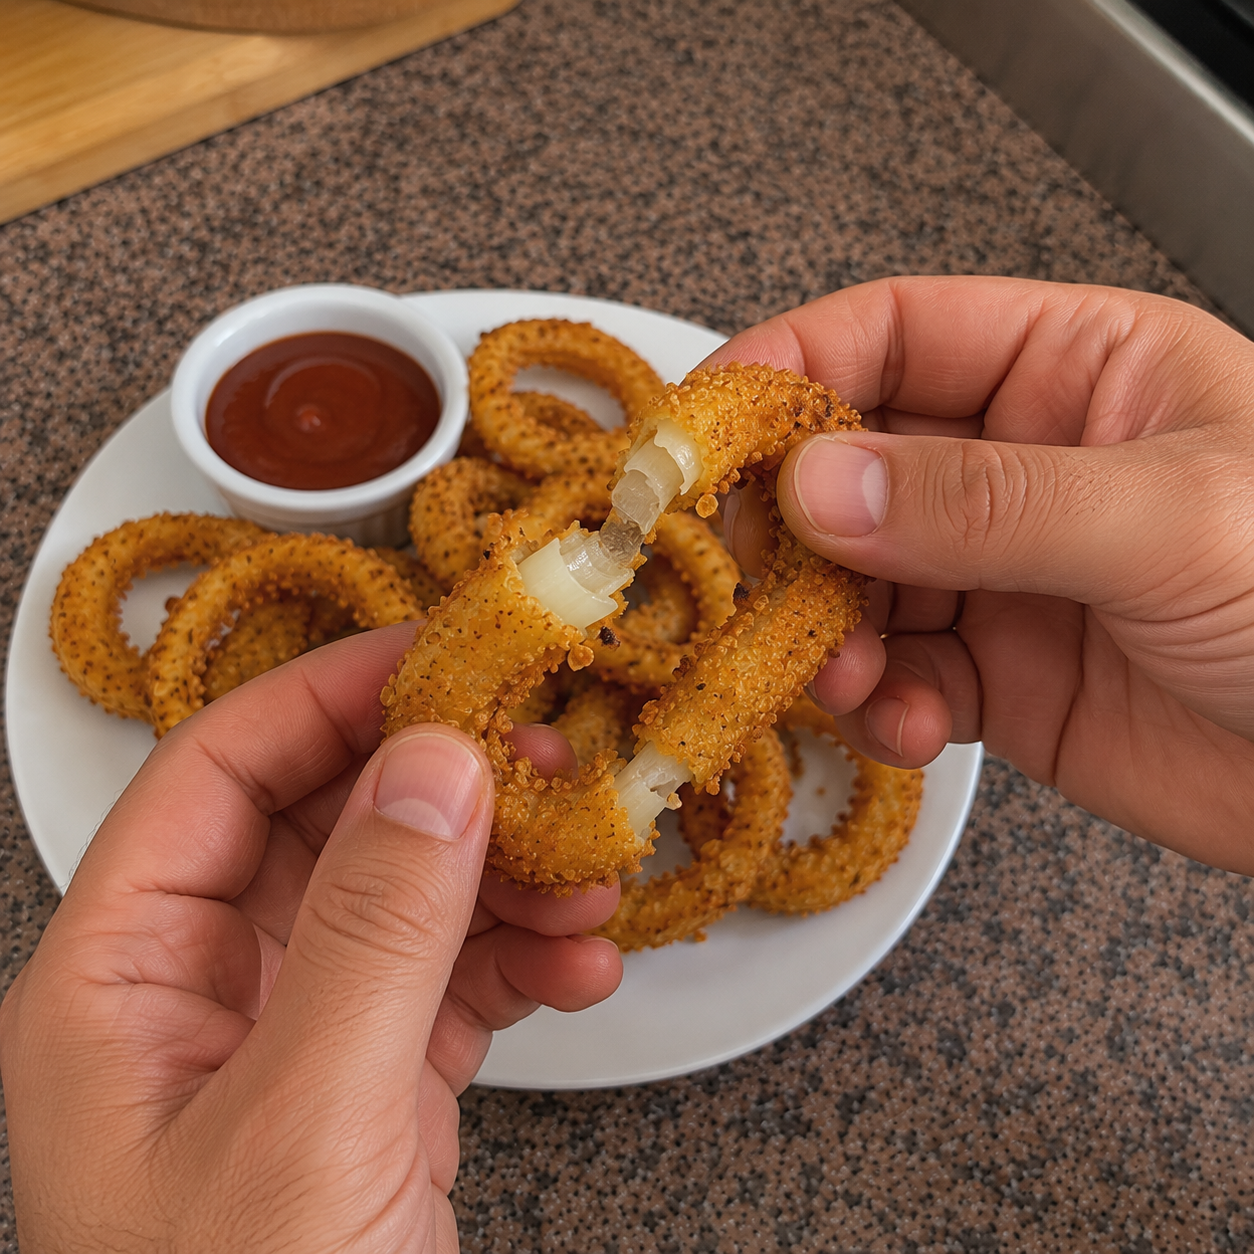
The onion inside should be tender but still hold its ring shape.
If it collapses when you pick it up, it may have cooked too long or been sliced too thinly.
Unlike meat recipes, there is no internal temperature target required here.
Texture and appearance matter more.
Give Them a Minute Before Eating
I know.
They smell good.
But give them a minute.
Fresh out of the air fryer, steam is still escaping from the onion.
If you pile the hot rings on top of one another, that steam moves directly into the crisp coating.
Then the bottoms start softening.
Spread them on a plate or cooling rack for a minute or two.
Do not leave them sitting forever.
These are much better warm.
Just give the steam somewhere to go.
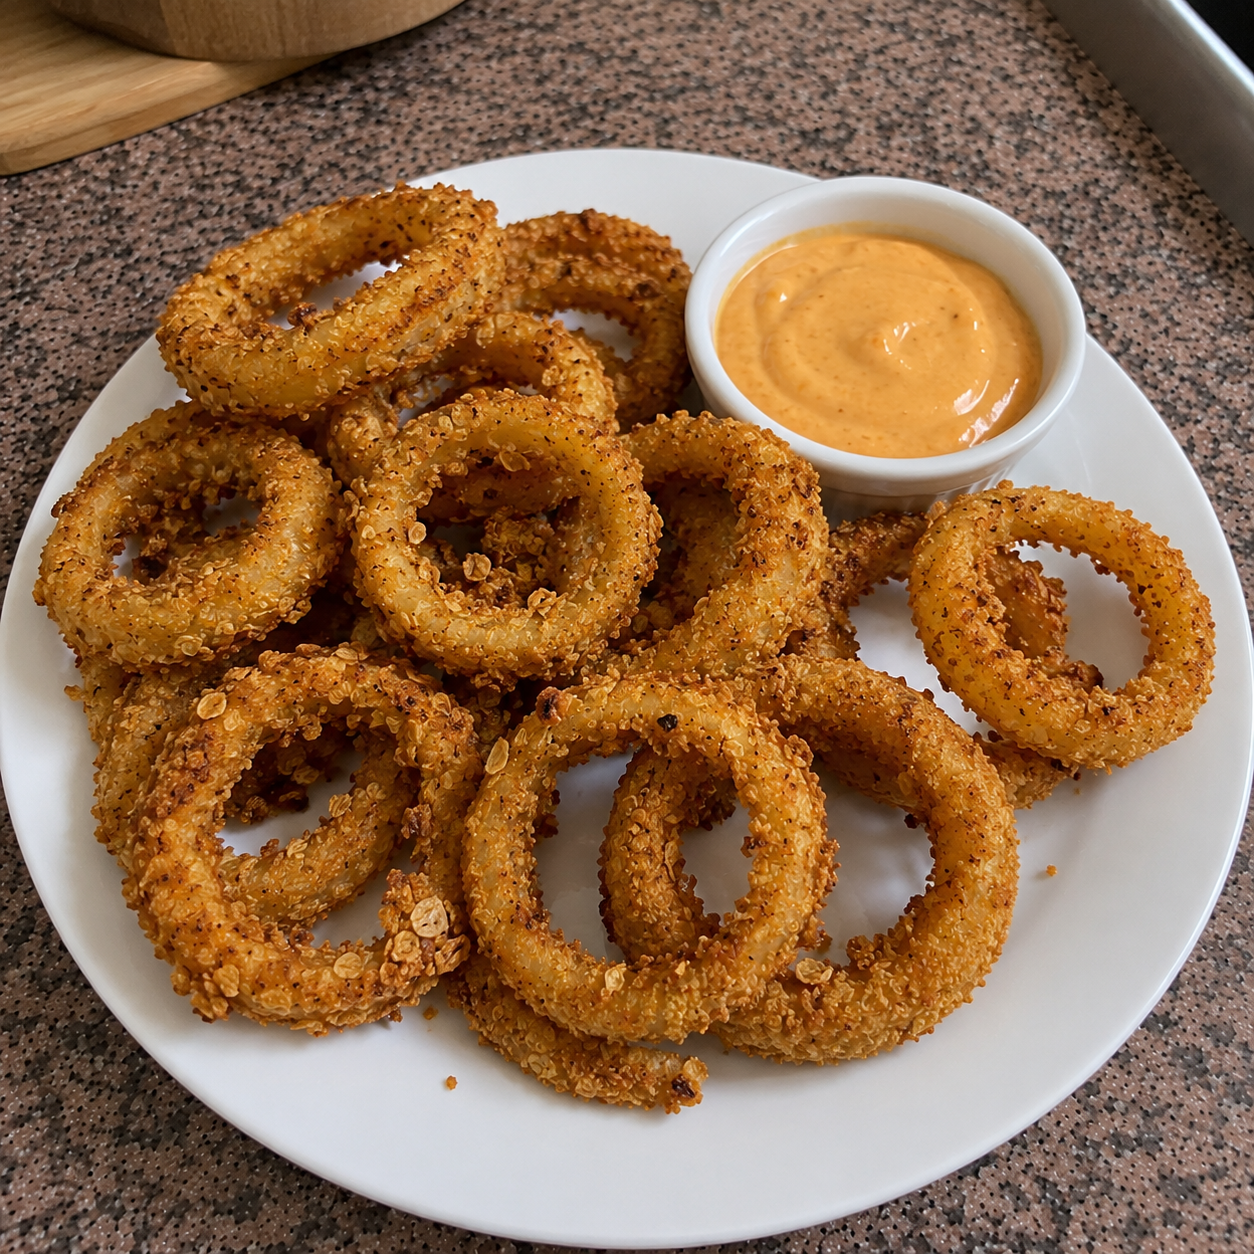
Save This Recipe
from DailyNatureBites
Enter your email below & we’ll send it straight to your inbox + you’ll subscribe for all the latest recipes!
Why Did My Oat Coating Fall Off?
This is probably the most common annoyance with coated onion rings.
The Onion Was Too Wet
Moisture on the surface can stop the first oat layer from gripping properly.
What to do: If the onion feels especially wet after slicing, pat the rings gently with kitchen paper.
Next time: Do not rinse the sliced rings right before coating unless you plan to dry them thoroughly.
You Skipped the First Oat Layer
Going straight from onion to egg can make the coating less secure.
What to do: Use the full sequence:
Oats. Egg. Oats again.
That first dry coating helps everything else stay put.
Too Much Egg Stayed on the Ring
A thick layer of dripping egg turns the second bowl of oats into wet clumps.
What to do: Let excess egg drip off before returning the ring to the oats.
Simple fix.
Big difference.
You Flipped the Rings Too Early
The coating needs a little time to set.
If you move it while the egg is still wet, the crust can tear away.
What to do: Wait until the coating looks dry and feels firmer before flipping.
Why Aren’t My Onion Rings Crispy?
Crowding is the first thing I would check.
When rings touch or overlap, steam gets trapped between them.
That prevents the coating from drying properly.
The fix is easy.
Cook in a single layer.
The second possible problem is the oat texture.
Oats that are too coarse do not stick well.
Oats that are turned into extremely fine flour can form a flatter coating.
Aim for small crumbs.
If the rings look dry but still pale, your air fryer may simply brown more slowly.
Give them a little more time rather than immediately blasting them with much higher heat.
The final minute or two can change the color quickly, so keep an eye on them.
Why Did the Onion Turn Too Soft?
Thin slices cook quickly.
Really quickly.
If your onion rings are very thin, the inside may soften before the outside gets enough color.
Next time, cut the onion slightly thicker.
The other culprit is steam after cooking.
Hot onion gives off moisture.
Stack the rings together and the steam gets trapped.
Spread them out instead.
Sometimes the fix really is that easy.
Why Did the Coating Brown Too Quickly?
Added seasoning can play a role.
Fine spices such as paprika or garlic powder may darken faster than plain oats.
Using too much can make the coating look done before the onion itself reaches the texture you want.
Your air fryer may also run hotter than the display suggests.
That happens.
If the coating consistently darkens too fast, start checking earlier or reduce the amount of added seasoning.
Do not automatically turn the heat higher in search of extra crunch.
Moderate heat gives the onion more time to soften.
Should I Flip Air Fryer Onion Rings?
Not always.
If your air fryer circulates air strongly under the basket, the rings may cook evenly without flipping.
If you know your machine tends to leave the underside pale, flipping once can help.
Just wait until the coating has set.
Honestly, overhandling coated food is one of the easiest ways to lose the crust.
Let the hot air do its job.
What to Serve with Oat Coated Onion Rings
A cool dipping sauce is a good match for hot onion rings.
Try them with:
- Tomato based dipping sauce
- Mild mustard sauce
- Yogurt and herb sauce
- A spicy dipping sauce
- Garlic yogurt dip
Serve the sauce on the side.
Pouring sauce over the finished onion rings will soften that crust almost immediately.
As part of a larger meal, these also work beside an air fryer chicken dish, a burger, sandwiches, or another simple protein.
For drinks, something light works nicely.
Sparkling water with lemon, lightly sweetened iced tea, or homemade lemonade all cut through the warm onion flavor without overwhelming it.
How to Store Leftover Onion Rings
These are best fresh.
No surprise there.
Still, leftovers can be stored.
Let the onion rings cool first.
Do not close steaming hot rings inside a food container because condensation will collect inside and soften the oat coating.
Once cool, transfer them to an airtight container and refrigerate.
For the best texture, I would eat them within a day or two.
You can place a piece of kitchen paper in the bottom of the container to help absorb extra moisture.
Just avoid packing the rings too tightly.
The Best Way to Reheat Them
Skip the microwave if you care about the crust.
A microwave heats the moisture inside the onion quickly, which often makes the coating soft.
The air fryer works much better.
Arrange the cold onion rings in one layer and reheat them at a moderate temperature for a few minutes.
Check them early.
The coating is already cooked, so you only need enough heat to warm the onion and crisp the outside again.
A hot oven works too.
Dry heat is what you want.
Frequently Asked Questions
Can I make onion rings without grinding the oats?
No, because whole oat flakes are too large to stick evenly to the onion.
Grinding them into crumbs gives the egg more surface area to hold onto and creates a more consistent coating.
Can I use quick oats?
Yes, but be careful when blending them.
Quick oats are already smaller than regular rolled oats, so they can turn into flour very quickly.
Pulse them briefly and stop once they look crumbly.
Can I prepare the rings ahead of time?
Yes, but only for a short period.
Once the onion, egg, salt, and oat coating sit together, moisture gradually moves into the coating.
For the crispiest result, coat the rings fairly close to cooking time.
Can I stack onion rings in the air fryer?
No, because overlapping rings block airflow and trap steam.
If everything does not fit in one layer, cook in batches.
The texture will be much better.
Does the air fryer need to be preheated?
Not always.
Some models benefit from preheating, while others heat so quickly that it makes very little difference.
Follow what works best with your particular air fryer.
Can I add oil for more crunch?
Yes, but use only a very light mist.
The original recipe does not require added oil.
Too much can soak into the oats and make the coating heavier.
Why does the cooking time vary between air fryers?
Because air fryers differ in basket size, fan strength, heating element power, and temperature accuracy.
Use eight minutes as a guide, then judge the onion rings by their color, dryness, and texture.
A Few Small Tips That Help
- Use a wider bowl for the oat coating than for the egg. It makes coating the larger rings much easier.
- Try using one hand for the egg and the other for the oats. Otherwise, your fingers slowly become oat coated onion rings themselves (almost).
- Do not press the coating aggressively.
- Do not overcrowd the basket.
- Do not stack the cooked rings.
- And do not judge doneness by color alone. The coating should feel dry and set. That combination matters more than chasing a dark golden color.
These Crispy Air Fryer Onion Rings with Oat Coating are a good reminder that a short ingredient list can still produce plenty of texture when the technique is right.
Pay attention to the oat grind, onion thickness, and basket spacing. Those three details matter more than anything fancy.
Try them and let me know which dipping sauce you paired with yours.
