
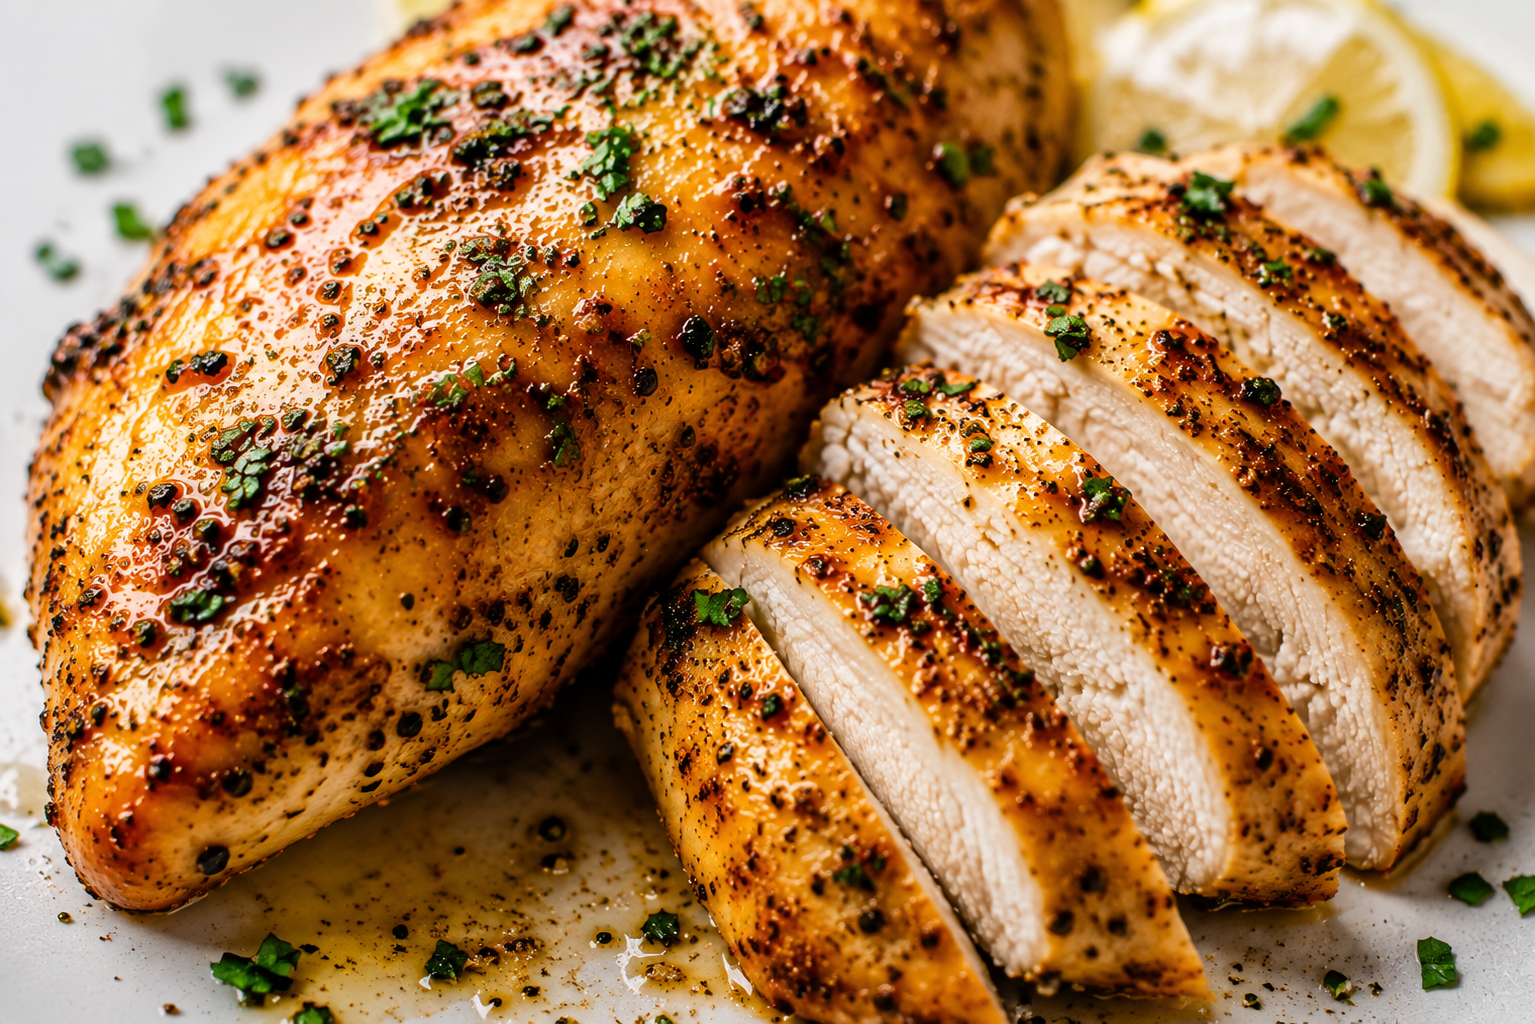
Juicy Air Fryer Chicken Breast in 15 Minutes

Juicy herb-seasoned chicken breasts cooked in the air fryer until lightly browned and safely cooked through — no brining required.
I’ve learned that the air fryer can do remarkable things for chicken breast, but only if you respect the details. In my three years of developing recipes for DailyNatureBites, I’ve seen too many home cooks rely on the timer alone and end up with dry meat. The truth is, chicken breast needs even thickness, a dry surface, and a thermometer to come out reliably juicy.
Here’s why this method is dependable: the seasoning paste creates a thin, flavorful barrier that promotes browning without adding moisture, and cooking at 370°F gives the exterior time to color before the lean meat overcooks. The real secret, though, is pulling the chicken at 160°F and letting carryover cooking finish the job during the rest. By the time you slice, the meat has reached the USDA-recommended 165°F internally.
📌 Recent Update
We adjusted the salt measurement in this recipe after early reader feedback indicated that standard kosher salt produced a saltier result than expected. If you keep Diamond Kosher salt on hand — which is lighter and flakier than most brands — use about 1 teaspoon instead of the ½ teaspoon listed below.
How to Prep the Chicken
Start by looking at your chicken breasts. If one end is noticeably thicker than the other, place the meat between two sheets of parchment paper and gently pound the thick section until the piece is more uniform. You’re not making a cutlet — you’re just removing the extreme difference that causes one end to dry out before the other is safe to eat.
Once the thickness is even, blot every surface dry with paper towels. Moisture is the enemy of browning, and wet chicken will steam instead of developing that light crust you want. Do not rinse raw chicken; rinsing spreads contaminated droplets around the sink and surrounding surfaces.
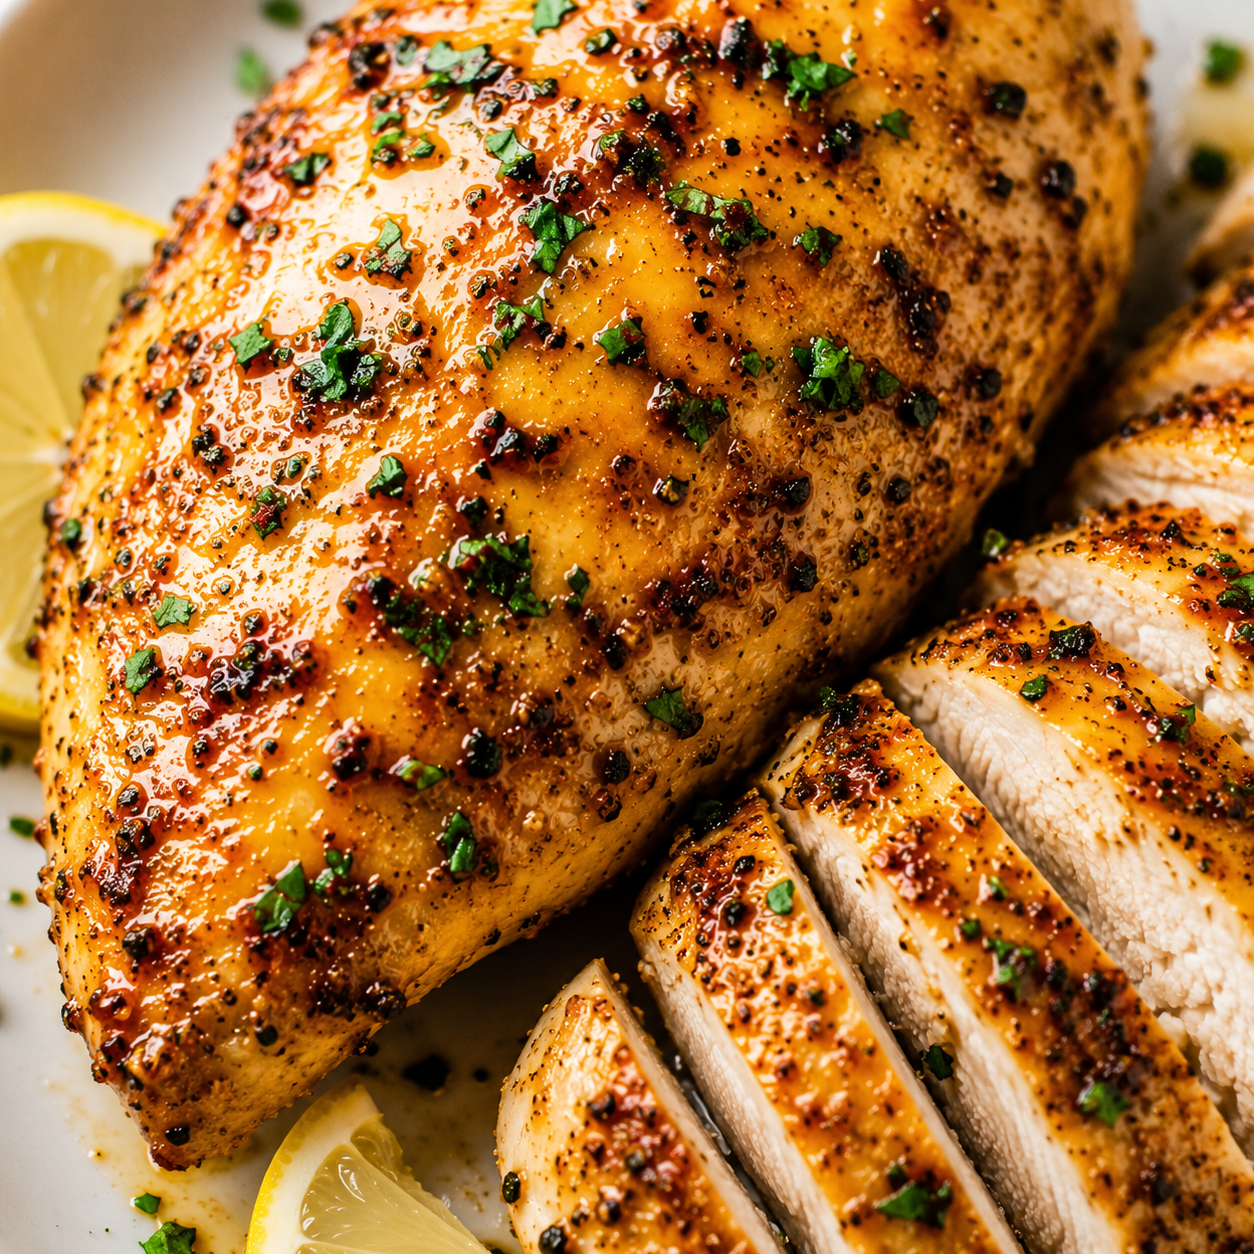
How to Build the Seasoning Paste
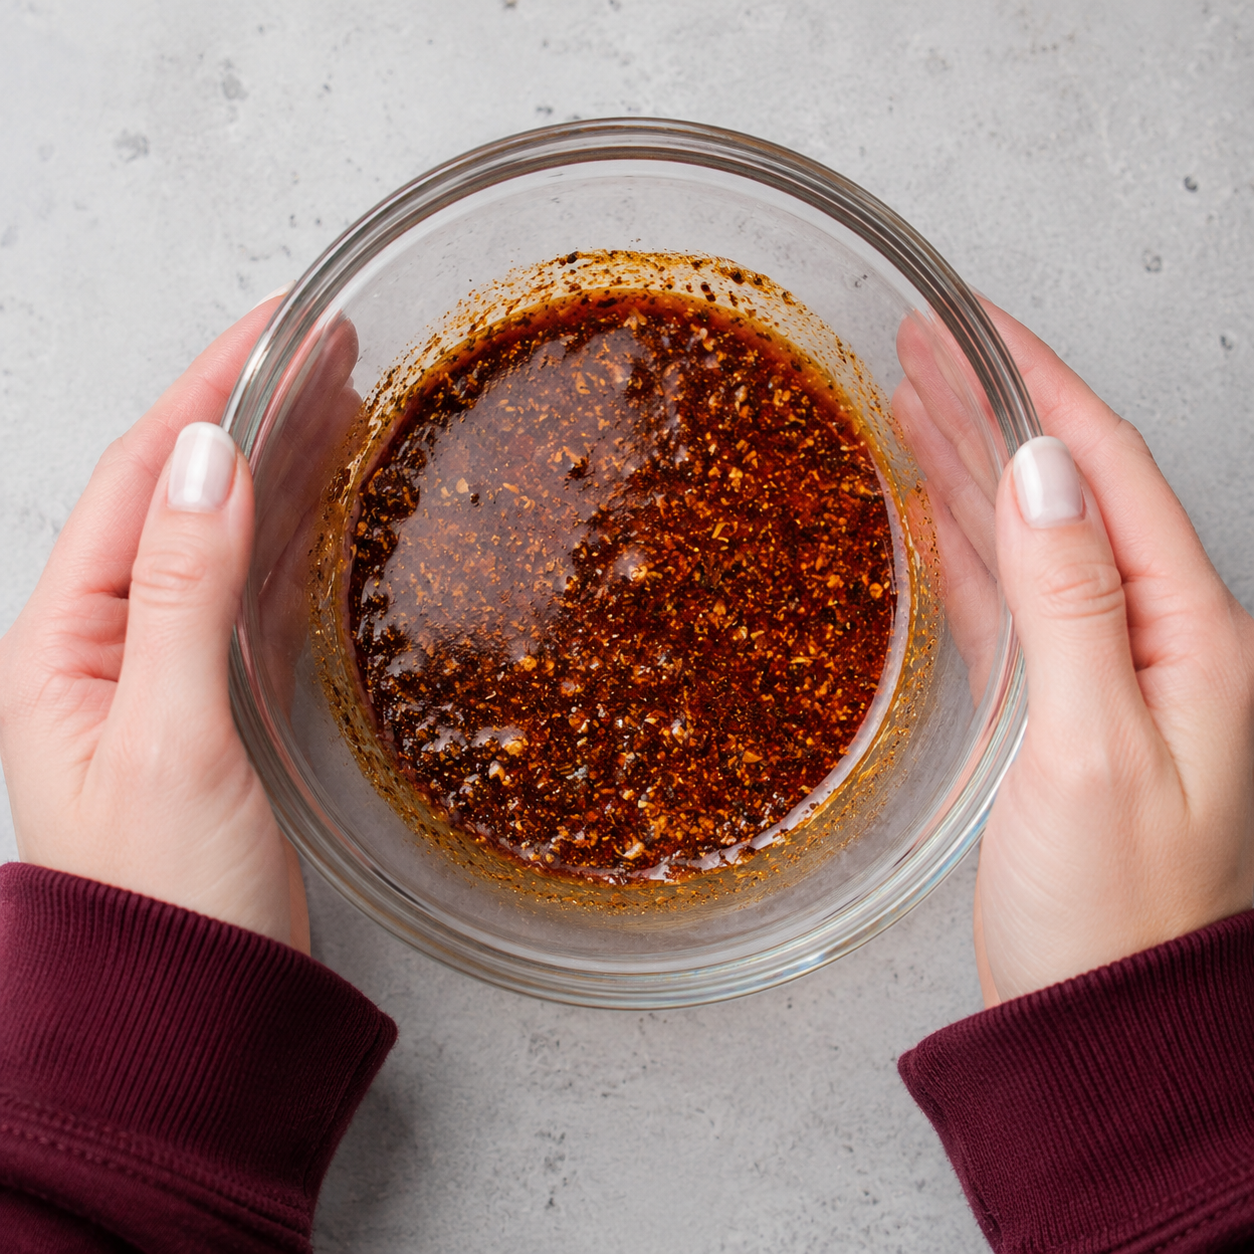
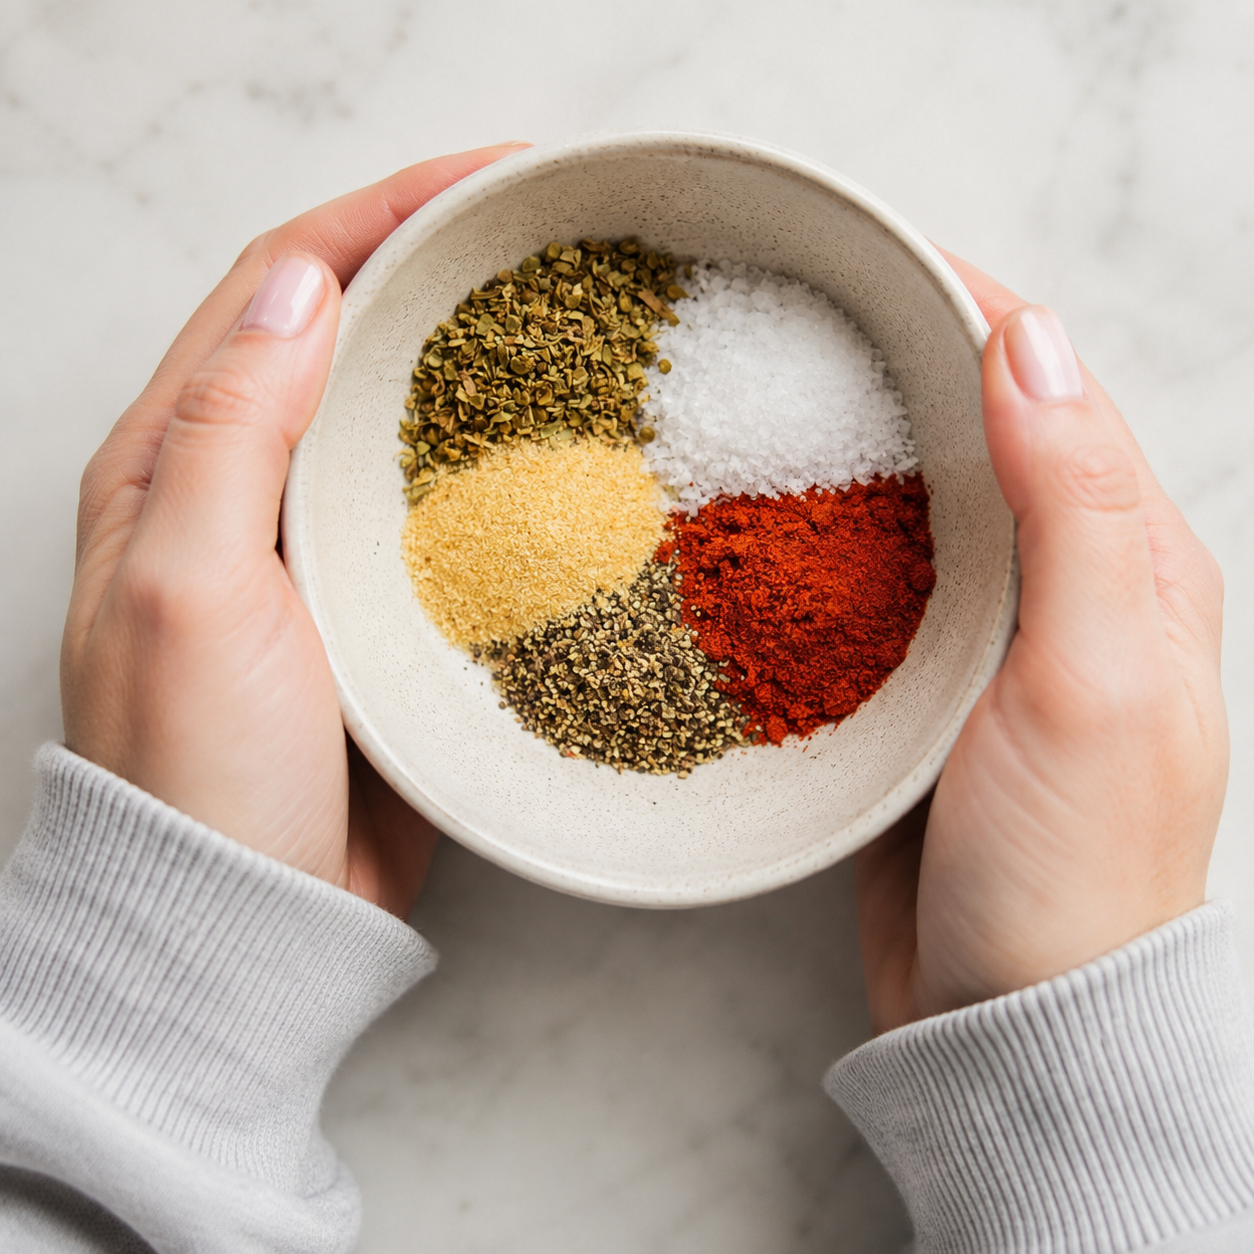
In a small bowl, stir the olive oil, salt, oregano, paprika, garlic powder, and black pepper until you have a loose paste with no dry pockets. Mixing the paste separately provides more even coverage than sprinkling each spice directly over the meat.
Rub the mixture over the top, bottom, and sides of both breasts, including the tapered ends. The oil helps the spices adhere and encourages the surface to color in the air fryer. Avoid leaving thick clumps of paprika or garlic powder in one area — concentrated spices can scorch before the chicken finishes.
What Temperature and Timing Actually Look Like
If your air fryer benefits from preheating, set it to 370°F and let it run for about 3 minutes. Some models start from cold without issue, but a preheated basket may shorten the cooking time slightly — so begin checking early.
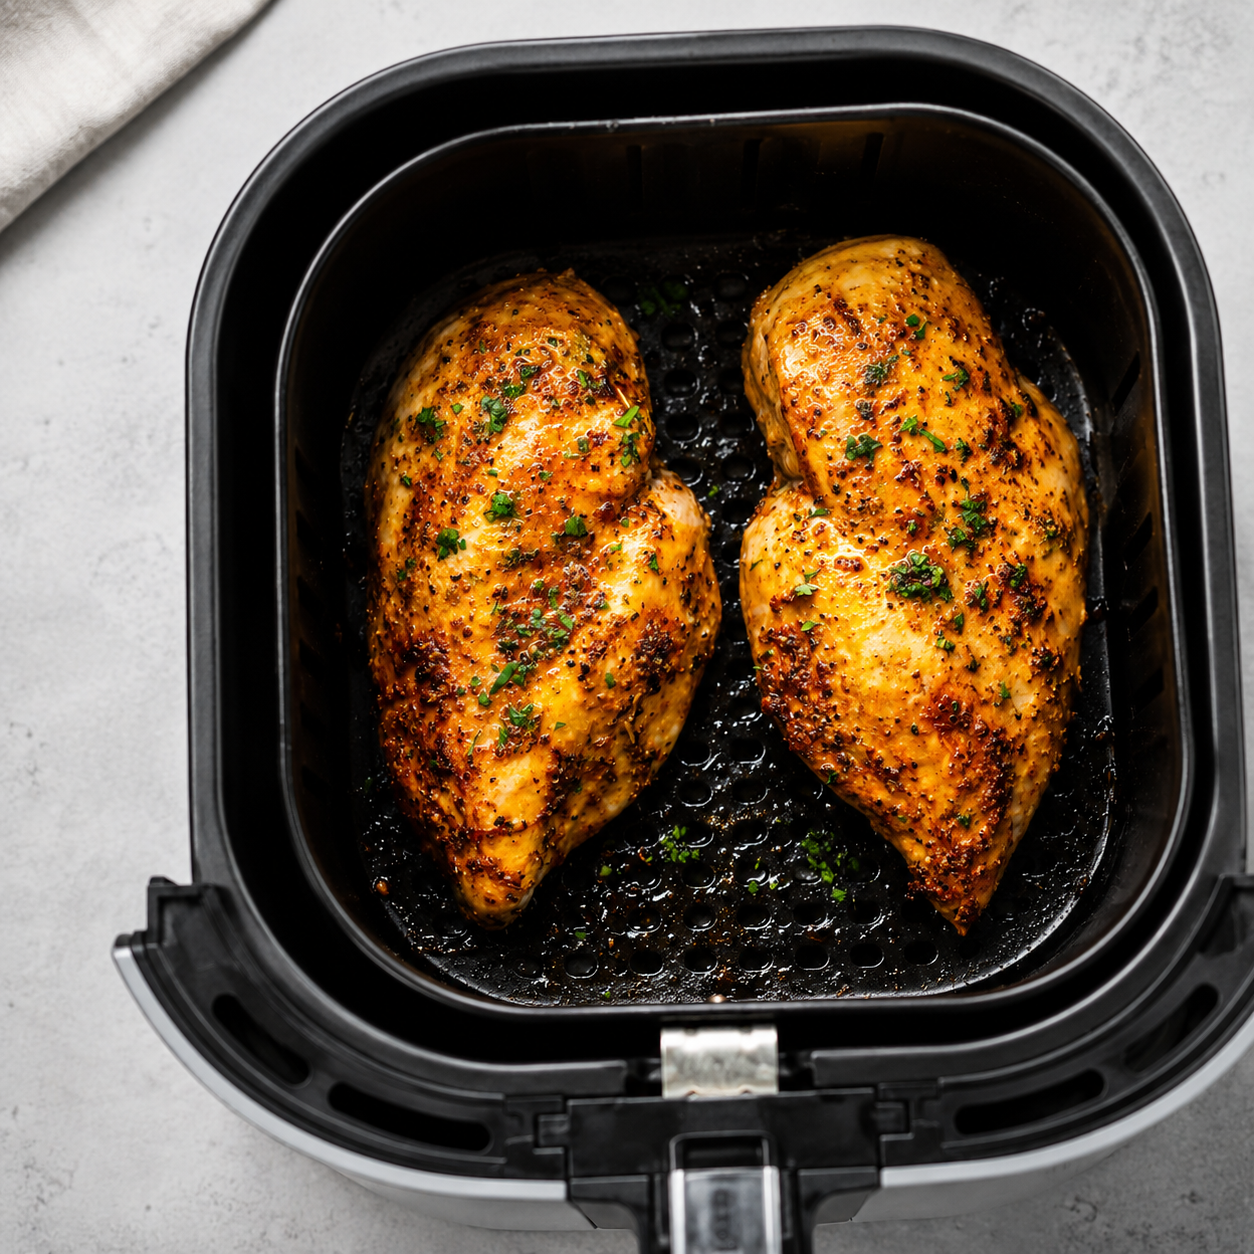
Arrange the seasoned breasts in the basket in a single layer, smooth side down, with visible space between the pieces. Crowding blocks airflow and leads to pale, uneven results.
Air-fry for 10 minutes. The exterior should start to take on color, though it won’t be fully browned yet. Flip the breasts with clean tongs and continue cooking for another 4 to 8 minutes. The total time depends on thickness and starting temperature more than weight alone.
Here’s a practical guide based on size, though I want to stress that these are estimates:
| Breast Size | Approximate Total Time at 370°F |
|---|---|
| Small (5–7 oz) | 14 minutes |
| Medium (8–9 oz) | 18 minutes |
| Large (10+ oz) | 22 minutes or longer |
A thermometer inserted horizontally into the thickest part should read 160°F when you pull the chicken. During the 5-minute rest, tented loosely with foil, carryover cooking will raise the internal temperature to the USDA-recommended 165°F. If you don’t have a thermometer, this is the point where I’d strongly suggest getting one — it’s the single tool that removes the guesswork from lean meat.
How to Add Vegetables Without Ruining Them
Quick-cooking vegetables can go into the basket after the chicken has cooked for about 10 minutes. Small broccoli florets, thin zucchini half-moons, asparagus pieces, sliced bell pepper, and halved Brussels sprouts all work well. Toss them lightly with oil and salt before adding them, but don’t pack them tightly around the chicken — crowding reduces browning and may extend the cooking time.
Different vegetables cook at different rates. Thin asparagus may need only 5 to 7 minutes, while firm Brussels sprouts can require longer. Remove individual ingredients as they become tender and lightly browned.
Ingredients
- 2 boneless, skinless chicken breasts (about 6–8 oz each)
- 1 tablespoon olive oil
- ½ teaspoon kosher salt
- ½ teaspoon dried oregano
- ½ teaspoon paprika
- ½ teaspoon garlic powder
- ½ teaspoon ground black pepper
About the Salt
Kosher salt brands vary in crystal size and density. Diamond Kosher salt is lighter and flakier, so a teaspoon of it contains less sodium by weight than a teaspoon of denser brands. If you use Diamond, increase the measurement to 1 teaspoon. Do not substitute fine table salt in the same volume — it is significantly denser and may make the chicken overly salty.
How to Tell When It’s Done
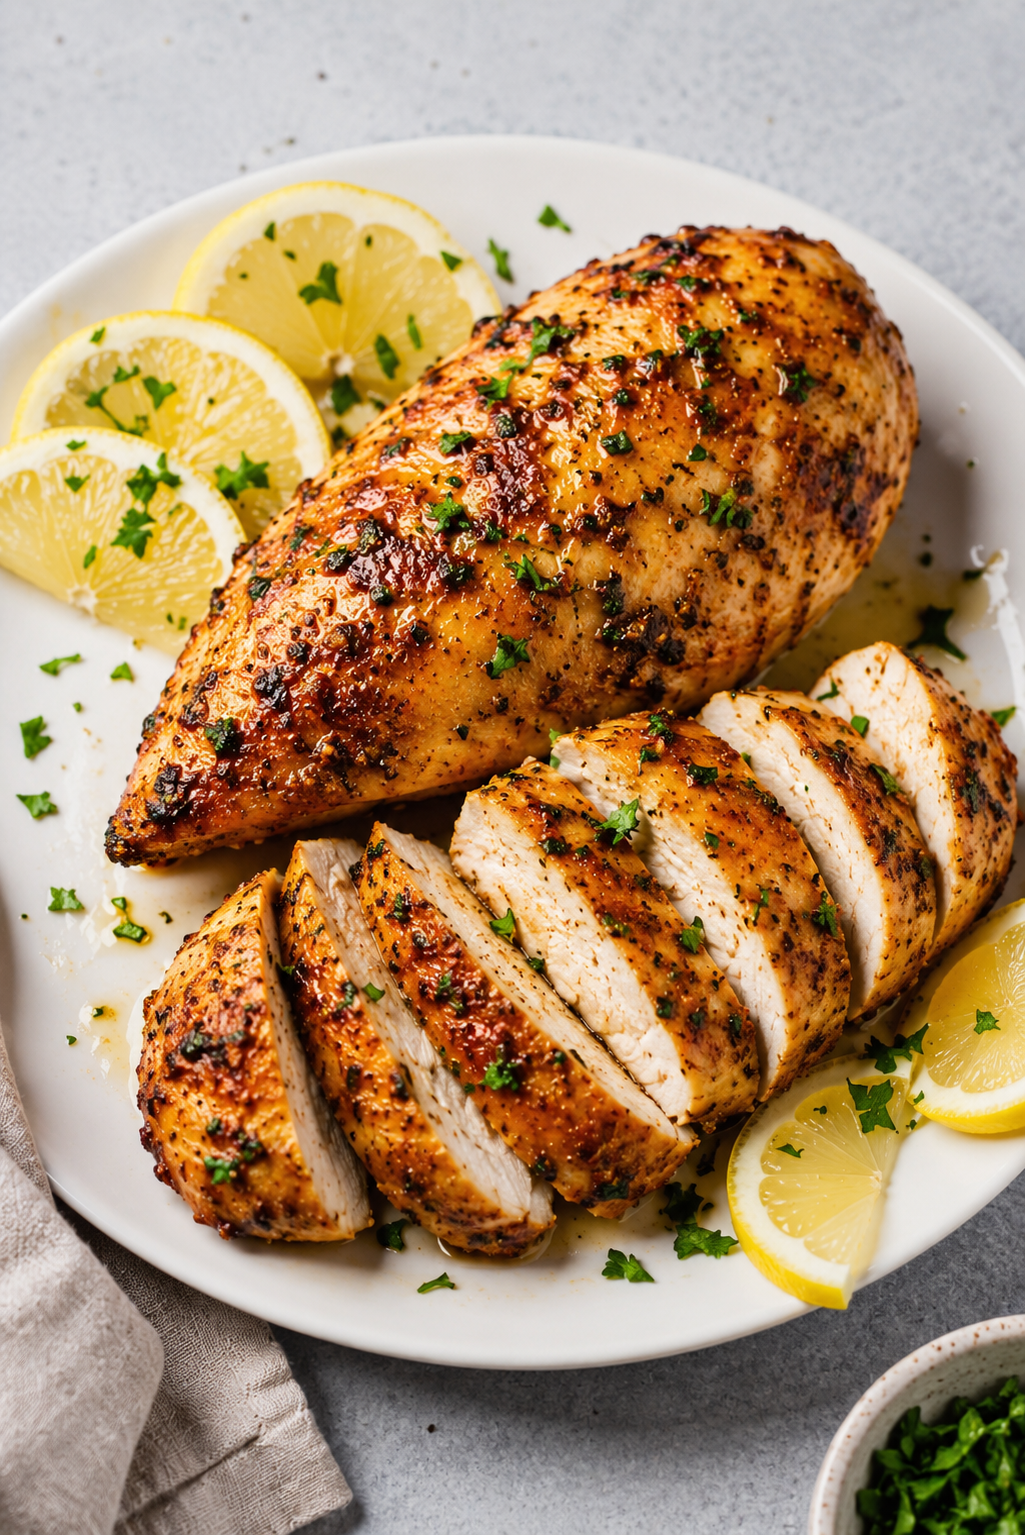
The exterior should be lightly browned with a few deeper toasted areas from the seasoning. Inside, the meat should be opaque and moist, with no raw or translucent center. Visual signs alone are not a dependable safety test, and clear juices do not confirm that chicken has reached a safe temperature. Use a thermometer and verify 165°F in the thickest part.
Save This Recipe
from DailyNatureBites
Enter your email below & we’ll send it straight to your inbox + you’ll subscribe for all the latest recipes!
Seasoning Variations That Actually Work
Italian-style: Replace the oregano with ½ teaspoon Italian seasoning. Most blends include basil, thyme, rosemary, or marjoram, so the flavor becomes more complex without extra effort.
Cajun-style: Swap the oregano, paprika, garlic powder, and black pepper for about 1½ teaspoons Cajun seasoning. Check whether the blend already contains salt before adding separate kosher salt.
Smoked paprika: Use smoked paprika in place of regular paprika for a deeper, wood-smoke character. The appearance stays similar, but the flavor is noticeably stronger.
Overnight marinade: A short marinade in Italian dressing adds a tangy, herby flavor. Drain off excess liquid before air-frying, since wet marinades tend to produce less browning and sugary ones can darken quickly.
Sauces and Serving Ideas
The neutral herb seasoning pairs well with a wide range of sauces. Try creamy garlic sauce, buffalo sauce, honey mustard, barbecue sauce, creamy mushroom sauce, or lemon butter. For a lighter option, a spoonful of garlic yogurt sauce works nicely.
Slice the chicken across the grain and serve it with air-fried potatoes, rice or a grain bowl, roasted sweet potatoes, sautéed spinach, a crisp salad, or steamed vegetables with lemon. It also holds up well in a sandwich or wrap with crunchy lettuce.
How to Store and Reheat Leftovers
Cool leftovers promptly and refrigerate them in a shallow airtight container. Use within 3 to 4 days. Store whole breasts when possible; chicken loses moisture faster after it has been sliced.
To freeze, wrap each cooled breast securely and place it in a freezer-safe container or bag. Freeze for up to 3 months for best quality. Thaw overnight in the refrigerator before reheating.
The best way to reheat is on the stovetop: place sliced chicken in a skillet with a small splash of water or unsalted broth, cover, and warm over medium-low heat until it reaches 165°F. Gentle steam reduces moisture loss. You can also reheat in the air fryer at 350°F for about 3 to 5 minutes, checking early. Air-fryer reheating restores the exterior but can overcook lean chicken quickly.
How to Fix Common Problems
| Problem | What to Do |
|---|---|
| The chicken is dry or tough | Likely cause: It cooked beyond the necessary temperature, or thin pieces were checked too late. Solution: Slice thinly and serve with a sauce or warm broth. Prevention: Begin checking several minutes before the expected finish time, especially with smaller breasts or a powerful air fryer. |
| The center is undercooked | Likely cause: The breast was thicker than expected or started very cold. Solution: Return to the basket for 2-minute intervals, checking temperature after each. Prevention: Even out unusually thick pieces before cooking. |
| The chicken browns unevenly | Likely cause: Crowded basket or a hot spot from the heating element. Solution: Rotate the basket safely if your model allows, or exchange piece positions when flipping. Prevention: Leave space around each breast. |
| The seasoning stays pale or wet | Likely cause: The surface was damp or the basket was overcrowded. Solution: Continue cooking only if the chicken has not reached 165°F. Do not overcook merely to deepen color. Prevention: Blot the chicken well and apply a thin, even layer of paste. |
| The chicken tastes too salty | Likely cause: A dense kosher salt or fine table salt was used by volume. Solution: Serve with unsalted rice, potatoes, or vegetables. Prevention: Reduce salt when changing brands or types, and add more at the table if needed. |
| The chicken sticks to the basket | Likely cause: Worn basket coating, too little oil, or flipping before the surface released. Solution: Loosen carefully with a silicone utensil. Prevention: Keep the basket clean, coat the chicken evenly, and follow manufacturer guidance on cooking spray. |
Frequently Asked Questions
Can you put raw chicken breast directly into an air fryer?
Yes. Raw chicken cooks safely in an air fryer as long as it reaches 165°F in its thickest section. Clean any surfaces or utensils that touched raw meat.
Why does my air fryer chicken turn out tough?
Overcooking is almost always the reason. That’s why I recommend pulling the chicken at 160°F and resting it. The meat continues cooking during those 5 minutes, and starting to check early prevents overshooting.
Do you have to flip chicken in the air fryer?
Flipping is recommended for even browning and cooking. If you skip it, the chicken will still cook through, but one side may be darker or slightly drier than the other.
Is brining necessary for juicy chicken breast?
No. Brining can help, but it is not required with this method. Even thickness, a dry surface, and temperature control are more important for a quick weeknight approach.
Can I cook frozen chicken breasts with this method?
Not with the same timing. Frozen breasts need additional cooking time, and seasoning will not adhere evenly to frozen meat. Use a method designed specifically for frozen chicken and confirm 165°F internally.
Can I double the recipe?
Yes, as long as the pieces fit in one layer with room for airflow. If four breasts crowd the basket, cook in two batches rather than overlapping them.
What if I only have table salt?
Table salt is much denser than kosher salt. If you must use it, reduce the amount by roughly half and taste carefully. Better yet, pick up a box of kosher salt — it gives you more control.
What to Drink With It
A Sauvignon Blanc or a buttery Chardonnay pairs nicely here. The acidity cuts through the richness of the olive oil and herbs without overwhelming the meat. If you prefer beer, a crisp pilsner works well. For non-alcoholic options, sparkling water with lemon or iced green tea complements the savory seasoning.
If you try this method, let me know how it goes. Did you stick with the herb blend, or did you branch out into one of the variations? Leave a comment below — I read every one, and I’m always curious about what works in your kitchen.
Recipe Card: Herb-Seasoned Air Fryer Chicken Breast
Ingredients
- 2 boneless, skinless chicken breasts (about 6–8 oz each)
- 1 tablespoon olive oil
- ½ teaspoon kosher salt
- ½ teaspoon dried oregano
- ½ teaspoon paprika
- ½ teaspoon garlic powder
- ½ teaspoon ground black pepper
Instructions
Check the chicken breasts for uneven thickness. Gently pound any thick sections between parchment until more uniform, then pat every surface dry with paper towels.
Mix the olive oil, salt, oregano, paprika, garlic powder, and black pepper into a loose paste. Rub evenly over all sides of both breasts.
If your air fryer recommends preheating, heat to 370°F for about 3 minutes. Arrange the chicken in a single layer with space between pieces.
Air-fry at 370°F for 10 minutes. Flip with clean tongs and continue for 4 to 8 minutes, depending on thickness.
Check the thickest part with an instant-read thermometer. Pull the chicken at 160°F; it will reach 165°F during resting. If it has not reached 160°F, return for 2-minute intervals.
Transfer to a clean plate, tent loosely with foil, and rest for 5 minutes before slicing.
Notes
- If using Diamond Kosher salt, increase to 1 teaspoon due to its lower sodium density.
- Cooking times vary by air fryer model, starting temperature, and breast thickness. Use the thermometer as your main guide.
- Resting is essential — do not skip it.
